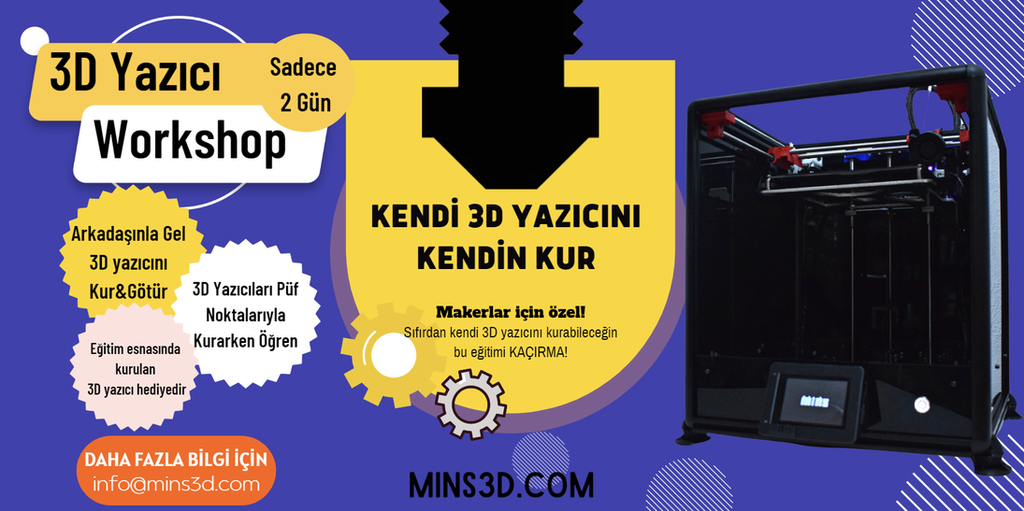
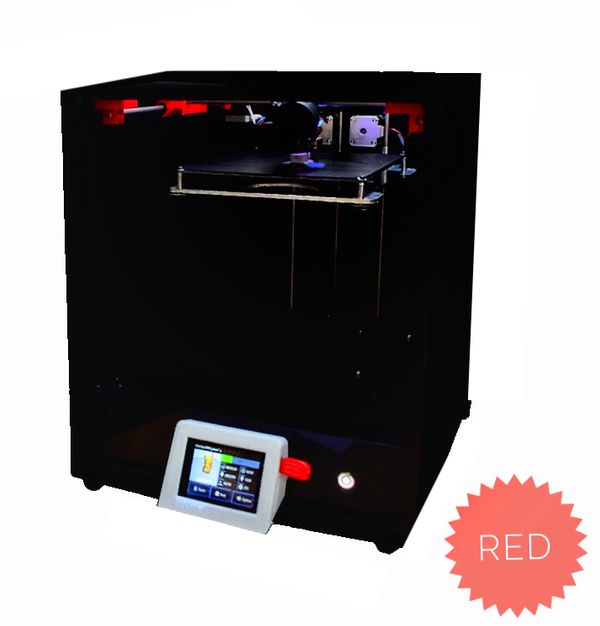
3D Printer Workshop
Build in 30 Steps!
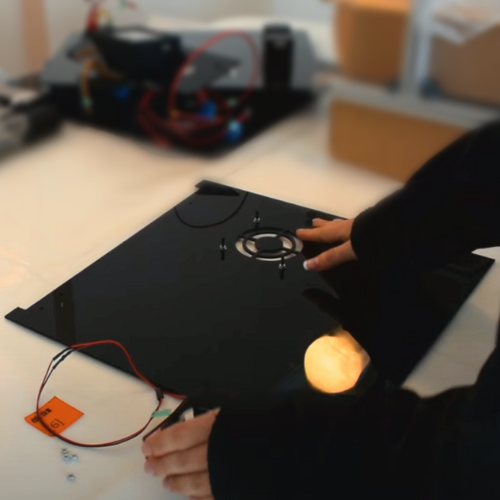
Plexiglass Assembly
Every part that should be assembled on plexiglass are mounted in the first 9 steps of assembly. They will all be placed to skeleton to form the body of 3D printer.
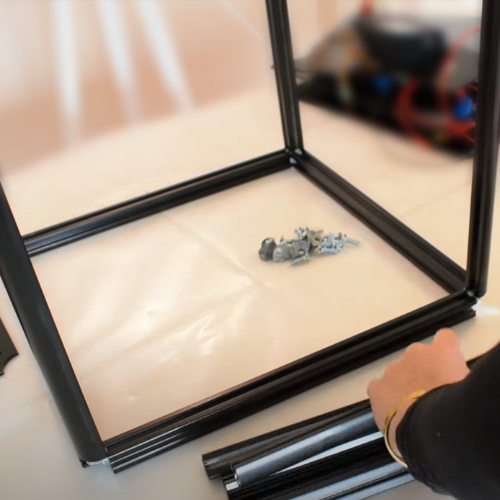
Skeleton Assembly
Skeleton assembly of 3d printer between steps 10 and 14. Plexiglass is placed in skeleton within the steps.
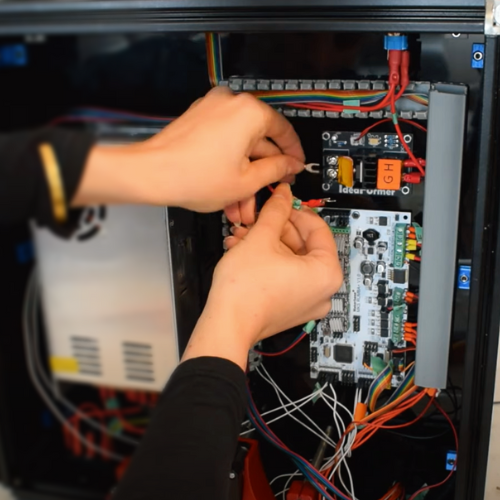
X, Y, Z Axis and Electronics Assembly
X, Y and Z axis are assembled from step 15-30. Wiring up all the cables and rest of the adjustments are made to prepare 3D printer to work
The training consists of two stages.
The content of the training given at the first stage;
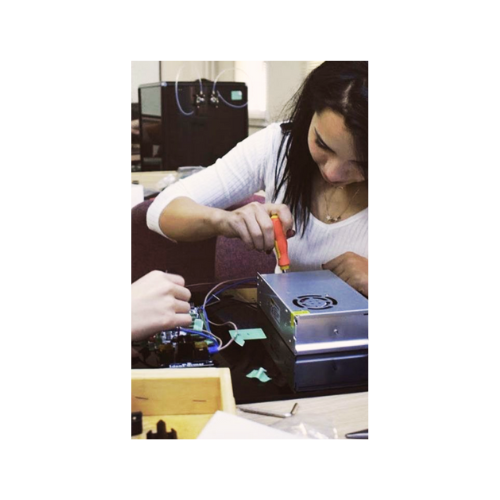
Before the training on assembling from scratch starts, general information about the 3D printer will be provided,
During assembling all the necessary materials will be provided for each stage,
Relevant information on how assemble the printer at every stage of the installation will be provided,
After the printer gets assembled, the second stage will be started with the completion of the training on all the details regarding the mechanical and electronic part.
The training content given in the second stage;
Installation and explanation of all the files required for the 3D printer on your computer,
Training of Cura slicer program that will enable you to print,
Making adjustments of your MINS 3D printer on the slicing program,
Transfer of your test print to your MINS 3D printer with the settings you have saved,
This training is completed by getting your first print out from the MINS 3D printer you have assembled.
At the end of the trainings, you take your test print and 3D printer you assembled with you.
You need to hurry! Our stocks are limited!
All materials (filaments, allen set, flash memory, cutter, connection cable) that we will be used with MINS 3D printer are provided with package!
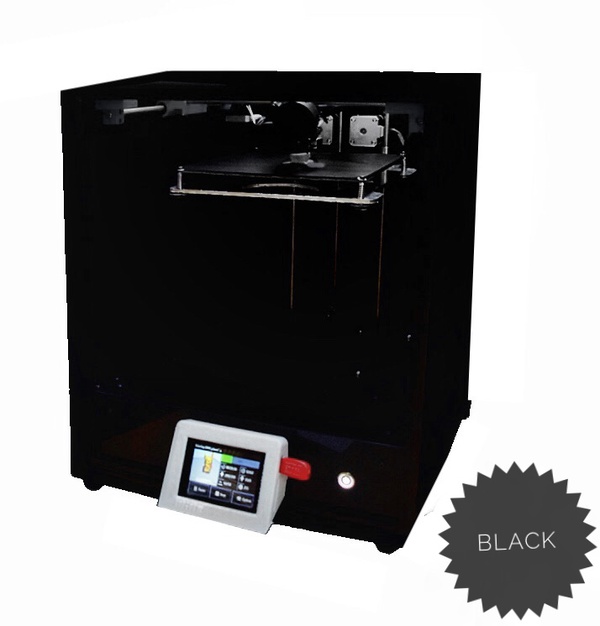
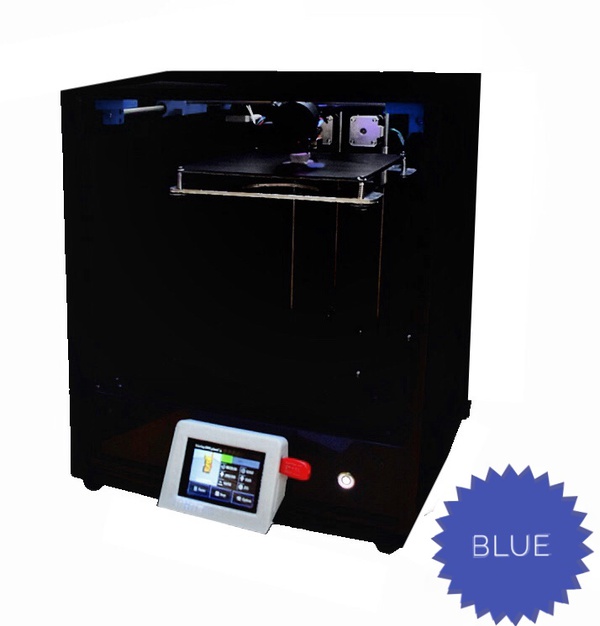
MINS 3D PRINTER PROPERTIES
0.05mm - 0.4mm Resolution
30 mm/s - 100 mm/s Print Speed
200x200x200 mm Print Volume
Dual Color Printing Feature
1.75 mm Filament Diameter
COREXY Motion System
Internal Heating Bed
3.5'' inc Touch Screen
Connection via WIFI, USB and SD card
3D Touch Automatic Bed Leveling
Ability to continue in any power failure
Printing surface consisting of magnetic sheet and spring steel
Internal 500 Watt power supply
Ability to print PLA, ABS, FLEX, TPU, TPE, TPC, PETG, PVA
Electrostatic Powder Coated Skeleton
External Bed Mosfet*
Customizable open source structure
Self-renewable design (Open to updates)
Ability to update your printer by improvements made by the MINS team.
*This board contains large connectors to the supply voltage and the heatbed, a transistor which can switch a large load, a heatsink to cool that transistor, and a smaller wire connector to accept bed switching signal from the 3D printer control board.
**THE PROPERTIES OF MINS 3D PRINTER WERE DESIGNED SPECIALLY TO REMOVE MAIN ISSUES ON MOSTLY 3D PRINTERS.
Once the user has seen at least one product this snippet will be visible.
